|
Table of Contents : |
| 1. | Login to your account using the username and password provided. | |
| 2. | Hover over the Fleet Management then Hover over the Repair Centre tab and Click on Repair Mapper tab. |  |
| 3. | Select Client from List. |  |
| 4. | Select Aircraft or Aircraft Type. |  |
| 5. | Select Aircraft or Aircraft Type from list. |  |
| 6. | Click on LOAD button. It will load Tool Bar in a same window and Repairs page in a new window. |  |
| 7. | click on Controls button. |  |
| 8. | Click on Manage Status List Tab. |  |
| 9. | Open new window for Manage Status List for add new status click on ADD button and insert Field Name , Parent Header and Set Column Field Type. |  |
| 10. | Click on save button to save new status. |  |
| 1. | Login to your account using the username and password provided. | |
| 2. | Hover over the Fleet Management then Hover over the Repair Centre tab and Click on Repair Mapper tab. |  |
| 3. | Select Client from List. |  |
| 4. | Select Aircraft or Aircraft Type. |  |
| 5. | Select Aircraft or Aircraft Type from list. |  |
| 6. | Click on LOAD button. It will load Tool Bar in a same window and Repairs page in a new window. |  |
| 7. | Hover over CONTROLS. |  |
| 8. | Click on Manage Status List option. |  |
| 9. | Open new window for Manage Status List for Edit Satus click on Status row that you have to edit. |  |
| 10. | Click on EDIT button and make change that you want. |  |
| 11. | Click on SAVE button to save change that you make. |  |
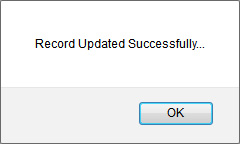
| 12. | Getting alert message that "Record Updated Successfully..." click on ok buttn to see change you made. |  |
| 1. | Login to your account using the username and password provided. | |
| 2. | Hover over the Fleet Management then Hover over the Repair Centre tab and Click on Repair Mapper tab. |  |
| 3. | Select Client from List. |  |
| 4. | Select Aircraft or Aircraft Type. |  |
| 5. | Select Aircraft or Aircraft Type from list. |  |
| 6. | Click on LOAD button. It will load Tool Bar in a same window and Repairs page in a new window. |  |
| 7. | Hover over CONTROLS. |  |
| 8. | Click on Manage Status List option. |  |
| 9. | A new window will open. Click status row that you'd like to Delete. |  |
| 10. | Click on DELETE button. |  |
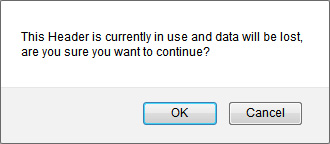
| 11. | Popup message will appear, click ok if you are sure you'd like to delete the status. |  |
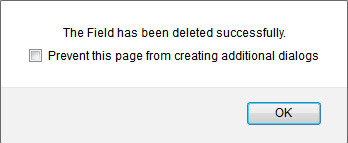
| 12. | Confirmation popup will appear that status has been deleted successfully. |  |
Lauren Partridge
Comments