|
Table of Contents : |
How do I add a signature using FLYsign?
| 1. | Login to your account using the username and password provided. | |
| 2. | Hover over the Fleet Management tab. Hover over the Document Management Centre tab and Click on the Manage Internal Documentation tab. | 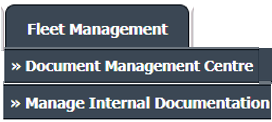 |
| 3. | Select Client and other related details. |  |
| 4. | Click on the VIEW button. It will open the Manage Internal Documentation page in a new window. |  |
| 5. | Click on the view icon of the row to view inner documents. It will open a new window. |  |
| 6. | Click on the Template name for which you want to do FLYSign. It will open that template in a new window. | 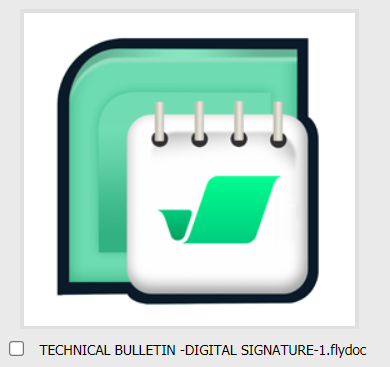 |
| 7. | Once you open a Template, Click on the SIGNATURE button. It will open the pop-up window. Note: You can view the SIGNATURE button If you have permission to do FLYSign. |
 |
| 8. | Login again to verify your signature. | 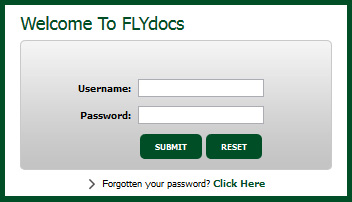 |
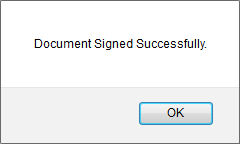
| 9. | It will show you Popup. Click on the OK button. It will add your Signature to that Field. Note: Once the Template is done with the final signature, the FLYdocs template would be locked and the User will not able to do any changes to the template. |
 |
How do I view template is signed or not?
| 1. | Login to your account using the username and password provided. | |
| 2. | Hover over the Fleet Management tab. Hover over the Document Management Centre tab and Click on the Manage Internal Documentation tab. |  |
| 3. | Select Client and other related details. | |
| 4. | Click on the VIEW button. It will open the Manage Internal Documentation page in a new window. |  |
| 5. | Click on the view icon of the row to view inner documents. It will open a new window. | |
| 6. | Go to the Template for which you want to check that it is signed or not. | |
| 7. | If it shows a ribbon icon then you can consider it as a signed template. |  |
| Note:- If you do not see this option appear it is due to access restrictions for your user account. please contact an administrator. |
Lauren Partridge
Comments