|
Table of Contents |
| 1. | Login to your account using the username and password provided. | |
| 2. | Hover over the Project Management tab and Click on the Acquisitions and Disposals Centre tab. |  |
| 3. | Click on ADD button. |  |
| 4. | Select Client, Area, Project Type and other relevant details. |  |
| 5. | Click on the SAVE button. |  |
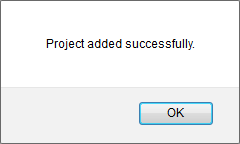
| 6. | It will show you Popup window. Click on the OK button. |  |
| 1. | Login to your account using the username and password provided. | |
| 2. | Hover over the Project Management tab and Click on the Acquisitions and Disposals Centre tab. |  |
| 3. | Select the record that you would like to edit. |  |
| 4. | Click on the EDIT button. | |
| 5. | Select Client, Area, Project Type and other relevant details. |  |
| 6. | Click on the SAVE button. |  |
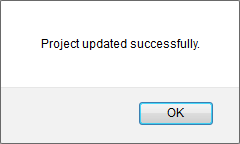
| 7. | It will show you Popup window. Click on the OK button. |  |
| 1. | Login to your account using the username and password provided. | |
| 2. | Hover over the Project Management tab and Click on the Acquisitions and Disposals Centre tab. |  |
| 3. | Go to grid and Select Project from the grid that you want to Archive. |  |
| 4. | Click on the ARCHIVE button. |  |
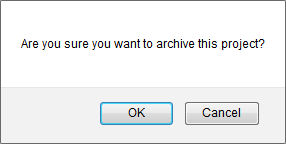
| 5. | It will show you Popup window. Click on the OK button. |  |
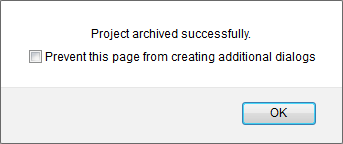
| 6. | It will show you Popup window. Click on the OK button. |  |
| Note:- If you do not see this option appear it is due to access restrictions for your user account. please contact an administrator. |
Lauren Partridge
Comments