|
Table of Contents : |
| 1. | Login to your account using the username and password provided. | |
| 2. | Hover over the Fleet Management tab and Click on APU Centre Tab. |  |
| 3. | Scroll down and Select record you wish to view. |  |
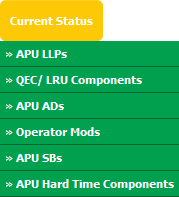
| 4. | Hover over Current Status and Select any tab from dropdown. It will open new window. |  |
| 5. | Hover over the CONTROLS dropdown and Click on the Manage Status List option. It will open a new window. |  |
| 6. | Click on ADD button to add Status. |  |
| 7. | Select Column Name, Header and Column Field Type. |  |
| 8. | Tick Return Conditions Tick box. |  |
| 9. | Select Return Conditions from List. |  |
| 10. | Click on SAVE button to save new status. |  |
| 1. | Login to your account using the username and password provided. | |
| 2. | Hover over the Fleet Management tab and Click on APU Centre Tab. |  |
| 3. | Scroll down and Select record you wish to view. |  |
| 4. | Hover over Current Status and Select any tab from dropdown. It will open new window. |  |
| 5. | Hover over the CONTROLS dropdown and Click on the Manage Status List option. It will open a new window. |  |
| 6. | Scroll down and Select record you wish to edit. |  |
| 7. | Click on EDIT button to edit Status. |  |
| 8. | Select Column Name, Header and Column Field Type. |  |
| 9. | Tick Return Conditions Tick box. |  |
| 10. | Select Return Conditions from List. |  |
| 11. | Click on SAVE button to save new status. |  |
| 1. | Login to your account using the username and password provided. | |
| 2. | Hover over the Fleet Management tab and Click on APU Centre Tab. |  |
| 3. | Scroll down and Select record you wish to view. |  |
| 4. | Hover over Current Status and Select any tab from dropdown. It will open new window. |  |
| 5. | Hover over the CONTROLS dropdown and Click on the Manage Status List option. It will open a new window. |  |
| 6. | Scroll down and Select record you wish to delete. |  |
| 7. | Click on DELETE button to delete Status. |  |
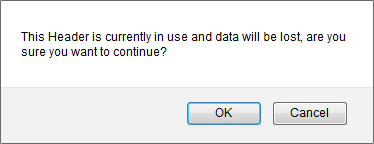
| 8. | It will show you pop up messge. Click on OK to delete Status. |  |
Lauren Partridge
Comments