|
Table of Contents : |
How do I attach documents to Status Entry?
| 1. | Login to your account using the username and password provided. | |
| 2. | Hover over the Fleet Management tab. |  |
| 3. | Hover over the Component Centre tab and Click on the Goods in tab. |  |
| 4. | Select Client from the list. |  |
| 5. | Select View Goods In Components and Workshop Strip Reports options from list. | 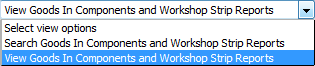 |
| 6. | Select Year and Month from List. It will load data into grid. |  |
| 7. | Click on the Open Folder Icon. It will open new Window. |  |
| 8. | In the new window, Select the document you want to attach. |  |
| 9. | Select required Attach Type from the list and other required fields. |  |
| 10. | Click on Attach to Status Entry. |  |
| 11. | In the new window, you have a list of rows available into grid. Select one or multiple row where you want to attach document. |  |
| 12. | Click on ATTACH button. |  |
| 13. | After clicking on Attach button, If same filename document is already present then it will show a pop-up message. If you still want to continue the Attachment process then click on OK button, then the attach process will be done. | 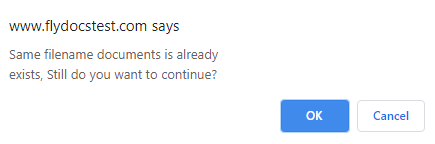 |
| 14. | It will show a popup message. Click on OK button. | 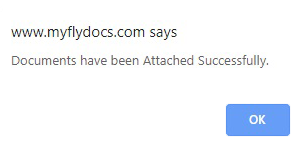 |
| Note:- If you do not see this option appear it is due to access restrictions for your user account. please contact an administrator. |
Lauren Partridge
Comments