How do I manage FLYprint Headers in Landing Gear Sub-Assembly Fleet?
| 1. |
Login to your account using the username and password provided. |
|
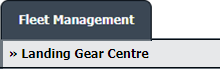
| 2. |
Hover over the Fleet Management tab and Click on Landing Gear Centre Tab. |
 |
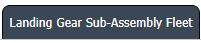
| 3. |
Click on the Landing Gear Sub-Assembly Fleet tab. |
 |
| 4. |
Select the asset from the grid. |
 |
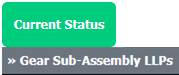
| 5. |
Hover over the Current Status dropdown and Select any tab from the dropdown. It will open new window.
|
 |
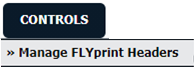
| 6. |
Hover over the CONTROLS dropdown and Click on the Manage FLYprint Headers option. It will open a new window. |
 |
| 7. |
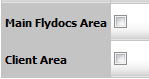
Go to Main Flydocs Area and Client Area shown into grid then tick or untick the tickbox for selecting print headers.
Note: You can select maximum three print headers only. |
 |
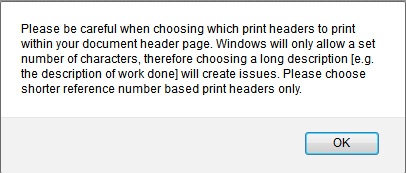
| 8. |
It will show you Popup message. Click on the OK button. |
 |
| 9. |
Click on SAVE button at the right and top side of page. |
 |
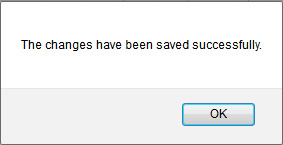
| 10. |
It will show you Popup message that "Changes have been saved successfully." Click on the OK button. |
 |
|
Lauren Partridge
Comments