How do I manage Delivery Bible Template from Masters?
|
Table of Contents :
- How do I add a Delivery Bible Template?
- How do I add a Row under a particular Delivery Bible Template?
- How do I edit a Row under a particular Delivery Bible Template?
- How do I Reorder rows under a particular template?
- How do I Apply Master to multiple Assets?
- How do I Reorder Categories?
|
How do I add a Delivery Bible Template?
| 1. |
Login to your account using the username and password provided.
|
|
| 2. |
Click on the Masters tab.
|
![]() ![]()  |
| 3. |
Click on the respective Centre's Delivery Bible Templates in the dropdown.
|
![]()  |
| 4. |
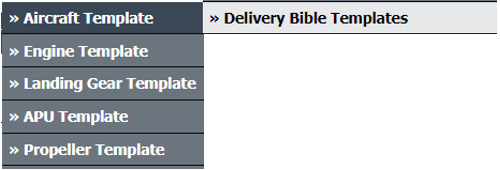
Select the Client then Template Type. In Template Type select option in the dropdown.
|
![]()  ![]()  |
| 5. |
Select or Create the template from the enabled Field
|
![]()  |
| 6. |
Click on Add New Template. A new Text Box will Appear. |
![]()  |
| 7. |
Add the new Template Name on the text box. |
![]()  |
| 8. |
Click on SAVE TEMPLATE. |
![]()  |
|
How do I add a Row under a particular Delivery Bible Template?
| 1. |
Login to your account using the username and password provided.
|
|
| 2. |
Click on the Masters tab.
|
![]()  |
| 3. |
Click on the respective Centre's Delivery Bible Templates in the dropdown.
|
![]()  |
| 4. |
Select the Client then Template Type. In Template Type select option in the dropdown.
|
![]()  ![]()  |
| 5. |
Select or Create the template from the enabled Field.
|
![]()  |
| 6. |
Click on ADD. |
![]()  |
| 7. |
Fillup the details on enabled text boxes, such as Category, Description Title, Status, Manufacturer, Read Only, Hide from Third Party. |
![]()  |
| 8. |
Click on SAVE. |
![]()  |
|
How do I edit a Row under a particular Delivery Bible Template?
| 1. |
Login to your account using the username and password provided.
|
|
| 2. |
Click on the Masters tab.
|
![]()  |
| 3. |
Click on the respective Centre's Delivery Bible Templates in the dropdown.
|
![]()  |
| 4. |
Select the Client then Template Type. In Template Type select option in dropdown.
|
![]()  ![]()  |
| 5. |
Select or Create the template from the enabled Field, after selecting Template Type.
|
![]()  |
| 6. |
Click on Row under the selected Template. |
![]()  |
| 7. |
Click on EDIT. Make the changes on fields i.e., Category, Description Title, Status, Manufacturer, Read Only, Hide from Third Party. |
![]()  ![]()  |
| 8. |
Click on SAVE. |
![]()  |
|
How do I Reorder rows under a particular template?
| 1. |
Login to your account using the username and password provided.
|
|
| 2. |
Click on the Masters tab.
|
![]()  |
| 3. |
Click on the respective Centre's Delivery Bible Templates in the dropdown.
|
![]()  |
| 4. |
Select the Client then Template Type. In Template Type select option in dropdown.
|
![]()  ![]()  |
| 5. |
Select or Create the template from the enabled Field, after selecting Template Type.
|
![]()  |
| 6. |
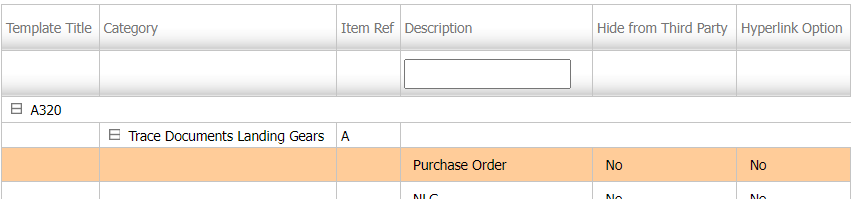
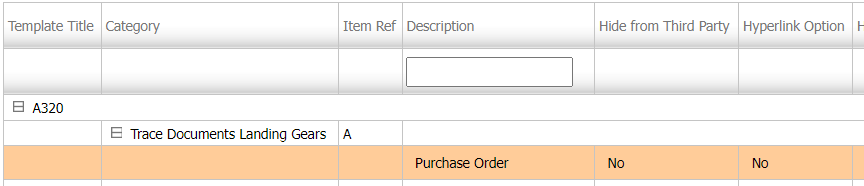
Pick the reorder tools and drag from one group to another group.
|
![]()  |
| 7. |
When you do that the popup message comes. In this message Click on OK button.
|
![]() 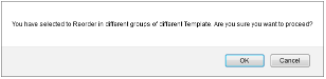 |
|
How do I Apply Master to multiple Assets?
| 1. |
Login to your account using the username and password provided.
|
|
| 2. |
Click on the Masters tab.
|
![]()  |
| 3. |
Click on the respective Centre's Delivery Bible Templates in the dropdown.
|
![]()  |
| 4. |
Select the Client then Template Type. In Template Type select option in dropdown.
|
![]()  ![]()  |
| 5. |
Select or Create the template from the enabled Field, after selecting Template Type.
|
![]()  |
| 6. |
Select the Template from the Grid. |
![]()  |
| 7. |
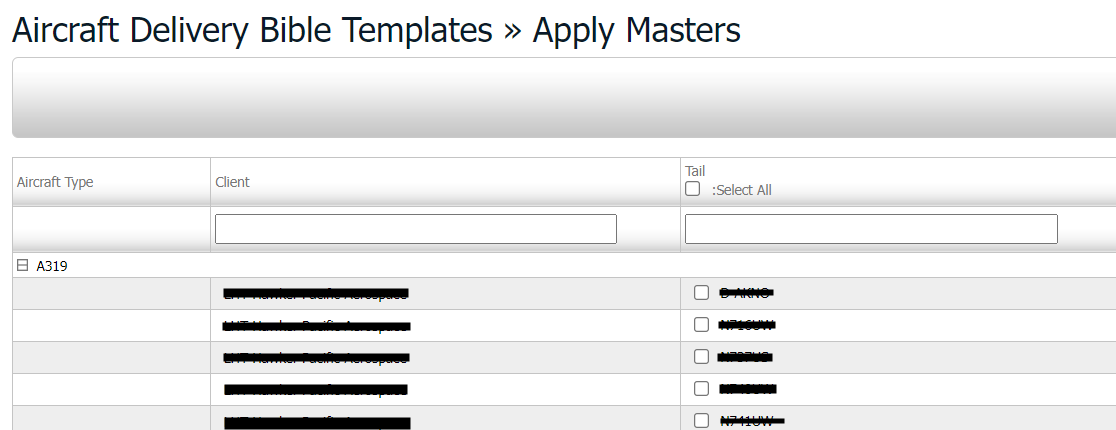
Click on APPLY MASTER. A new window will get open. |
![]()  |
| 8. |
Select the Aircraft to enable the template for that particular aircraft. |
![]()  |
| 9. |
Click on SUBMIT. |
![]()  |
|
How do I Reorder Categories?
| 1. |
Login to your account using the username and password provided.
|
|
| 2. |
Click on the Masters tab.
|
![]() |
| 3. |
Click on the respective Centre's Delivery Bible Templates in the dropdown.
|
![]() |
| 4. |
Select the Client then Template Type. In Template Type select option in dropdown.
|
![]() ![]() |
| 5. |
Select or Create the template from the enabled Field, after selecting Template Type.
|
![]() |
| 6. |
Select the Template from the Grid. |
![]() |
| 7. |
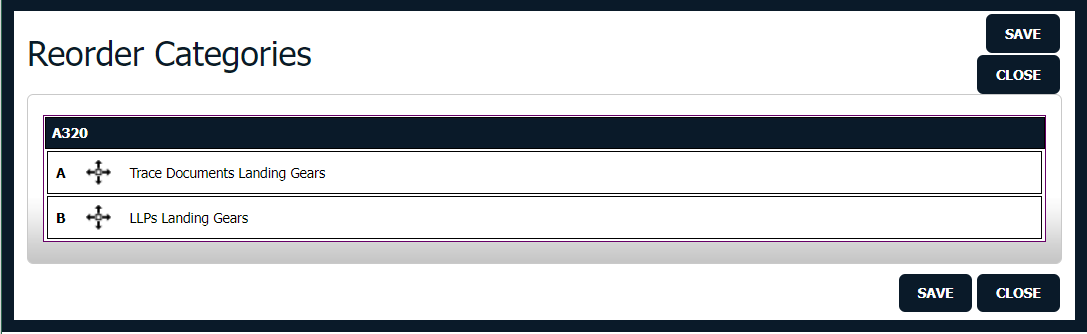
Click on REORDER CATEGORIES. A new Window will open. |
![]()  |
| 8. |
reorder the rows by using the reorder tool. |
![]() ![]()  |
| 9. |
Click on SAVE. |
![]() |
|
Riyaz Mirza
Comments