|
Table of Contents : |
| 1. | Login to your account using the username and password provided. | |
| 2. | Click on the Masters tab. |  |
| 3. | Hover on the FLYdoc Management tab and Click on the FLYdoc Templates tab. |  |
| 4. | Select Client from the list and Select other required fields. |  |
| 5. | Go to end of the record from grid that you want to access and Click on the view icon. It will open a new window. |  |
| 6. | Once the new window will open, Select record from the grid. |  |
| 7. | It will enable MANAGE FLYSIGN button. Click on MANAGE FLYSIGN button. It will open new window. |  |
| 8. | Select field for which you want to manage FLYsign. |  |
| 9. | Click on MAP LEVEL button. It will open Pop up window. |  |
| 10. | Select Levels from List. |  |
| 11. | Select FLYsign option. | 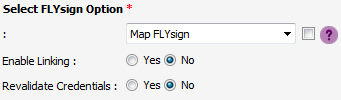 |
| 12. | Select Final Signature Options. | 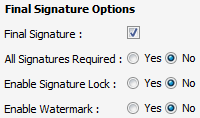 |
| 13. | Click on SAVE FLYSIGN MAPPING button. It will give you permission to make signature in that field. |  |
| Note:- If you do not see this option appear it is due to access restrictions for your user account. please contact an administrator. |
Lauren Partridge
Comments