|
Table of Contents : |
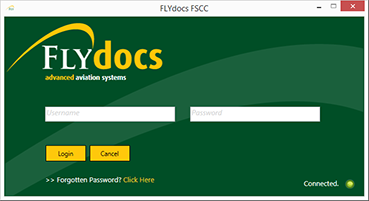
| 1. | Login to your account using the username and password provided. Note: These login details will be the same as the FLYdocs web platform. |
 |
| 2. | Select a Client from the Client dropdown and then select 'OK'. | 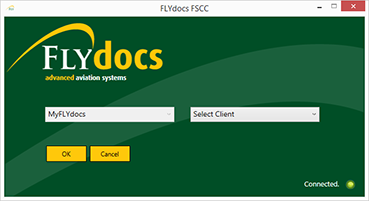 |
| 3. | Click on Scan at Source tab. |  |
| 4. | Select Historic/ BAU Scanning |  |
| 5. | Select a required centre. |  |
| 6. | Select a Component from the grid. |  |
| 7. | Double click on the box you want to enter. |  |
| 8. | Double click on the folder you want to enter. |  |
| 9. | Within the Folder select the RENAME button at the top of the window. |  |
| 10. | A panel will be open, at the right side of the window. |  |
| 11. | Select the documents you want to rename. Notes: Select the 'Select all' tick box at the top of the window to select all of the documents within the grid below. |
  |
| 12. | Go to right side open panel and enter folder name that you want to keep for the selected document. |  |
| 13. | Select the 'Show Preview' tick box to display a preview of how the document name(s) will appear after being renamed. |  |
| 14. | Click on RENAME button to rename your document(s). | |
| 15. | It will show you popup window. Click on YES button. | 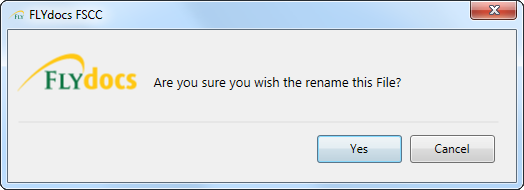 |
| 16. | It will show you popup window. Click on OK button. |  |
Lauren Partridge
Comments