| 1. |
Login to your account using the username and password provided. |
|
| 2. |
Hover over the Fleet Management tab. |
 |
| 3. |
Hover over the Maintenance Control Centre tab and Click on the Manage By Date tab. |
 |
| 4. |
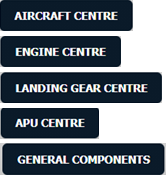
Select any centre tab that you want to open like Aircraft Centre, Engine Centre, etc. |
 |
| 5. |
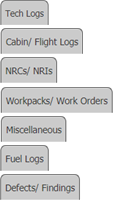
Select any Document Type that is visible to you like Miscellaneous, etc. |
 |
| 6. |
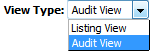
Select Client from list. It will load listing records into grid by default. |
 |
| 7. |
Select Audit View from the list. It will load records into grid. |
 |
| 8. |
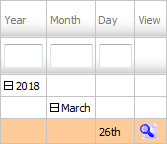
Go to end of the date record from grid that you want to access and Click on the view icon. It will open a new window. (E.g As shown in image 26th March 2018 date record is selected.) |
 |
| 9. |
Select the Document/s. |
 |
| 10. |
At the top right end Select the Path where to Attach document to Current Status by Selecting the appropriate filters.
Note : Attach/Move path ribbon will not get auto reset
after the documents gets attached.
|
 |
| 11. |
Hover over Manage Documents dropdown and Click on the Attach option. |
 |
| 12. |
At the new window you have a list of rows available into grid. Select one or multiple row where you want to attach document.
Note: 1. You can select All rows at once with the available options of selecting "All Pages"(For all rows of that particular section) and "Current Page"(For all rows of the current Page only)
2. We can select the Current Page/All Pages for the filtered rows as well.
|
 |
| 13. |
Click on ATTACH button. |
 |
| 14. |
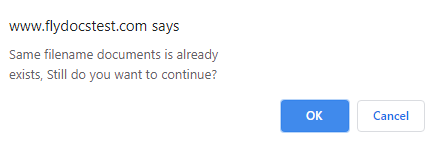
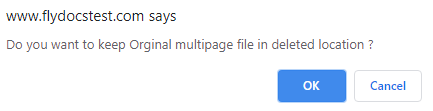
After clicking on Attach button, If same filename document is already present then it will show a pop-up message. If you still want to continue the Attachment process then click on OK button, then the attach process will be done. |
 |
| 15. |
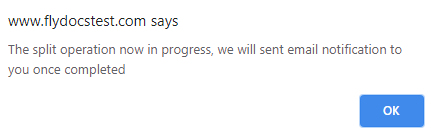
It will show you pop-up. Click on OK button. |
 |


Lauren Partridge
Comments