|
Table of Contents : |
How do I replace a Box I have already uploaded?
| 1. | Login to your account using the username and password provided. Note: These login details will be the same as the FLYdocs web platform. |
 |
| 2. | Select a Client from the Client dropdown and then select 'OK'. | 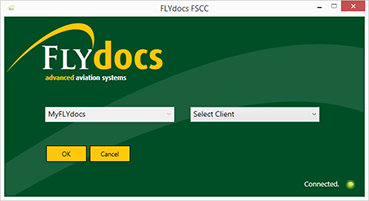 |
| 3. | Click on Scan at Source tab. |  |
| 4. | Select Historic/ BAU Scanning |  |
| 5. | Select a Centre |  |
| 6. | Select a Component from the grid. |  |
| 7. | Select the 'View' icon at the right side of the component row to enter the Box/ Folder level window for the selected component. |  |
| 8. | Select the box you want to re-upload. |  |
| 9. | Once you have selected the Box you want to re-upload, select the 'Upload' button at the top right-hand corner of the window. |  |
| 10. | Selecting this button will bring up a prompt to confirm your decision. Select 'Yes' to re-upload the selected box or select 'No' to cancel the upload process. | 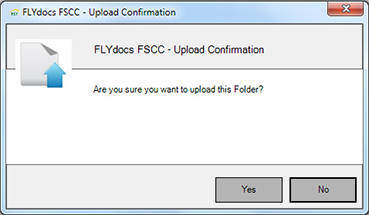 |
| 11. | After selecting 'Yes' another Upload confirmation prompt will appear if the same box has been found on the server already. | 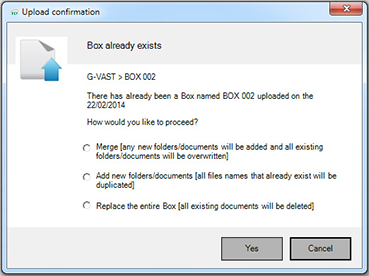 |
| 12. | This prompt will give you three options. To Merge/ Add or Replace the box you are trying to upload. | 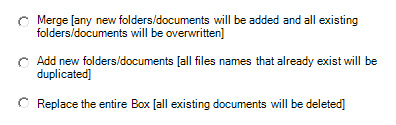 |
| 13. | Selecting the Merge option will overwrite any of the existing Folders or Documents with the same names on the server and add any new documents or Folders that have been added with different names. |  |
| 14. | Selecting the Add option will add all folders and documents within the box even if they have been uploaded before. |  |
| 15. | The Replace option will overwrite the existing box on the server with the new box you are uploading. |  |
| 16. | After selecting either of the upload options select 'Yes' to then start the upload process for the selected box. | 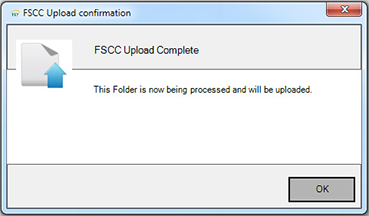 |
Lauren Partridge
Comments