|
Table of Contents : |
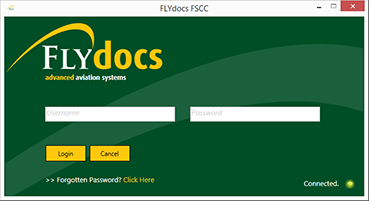
| 1. | Login to your account using the username and password provided. Note: These login details will be the same as the FLYdocs web platform. |
 |
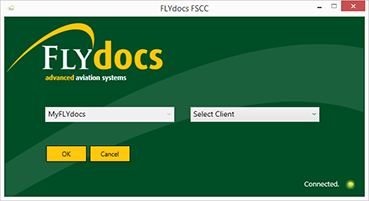
| 2. | Select a Client from the Client dropdown and then select 'OK'. |  |
| 3. | Select the tab for Reports at the top of the application. | |
| 4. | Select the sub tab for 'Processing Report'. |  |
| 5. | Select the radio button for 'Show Local Uploads'. | |
| 6. | Click on 'Pause' button, to pause uploading procedure. |  |
| 1. | Login to your account using the username and password provided. Note: These login details will be the same as the FLYdocs web platform. |
 |
| 2. | Select a Client from the Client dropdown and then select 'OK'. |  |
| 3. | Select the tab for Reports at the top of the application. | |
| 4. | Select the sub tab for 'Processing Report'. |  |
| 5. | Select the radio button for 'Show Local Uploads'. | |
| 6. | Click on 'Resume' button, to resume uploading procedure. |  |
| 1. | Login to your account using the username and password provided. Note: These login details will be the same as the FLYdocs web platform. |
 |
| 2. | Select a Client from the Client dropdown and then select 'OK'. |  |
| 3. | Select the tab for Reports at the top of the application. | |
| 4. | Select the sub tab for 'Processing Report'. |  |
| 5. | click on the cancel icon to cancel upload/zipping of large files which visible at bottom. |  |
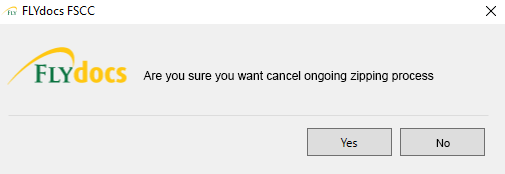
| 6. | It will show you pop up message as "Are you sure you want cancel the ongoing zipping process". Click on 'Yes' to cancel zipping process/uploading. After that zipping process going to CANCEL. Notes: Cancel Process will display at all levels like ASSET/Status Sheet/BOX/FOLDER/FILE level. |
 |
Lauren Partridge
Comments