How do I add a row above or below in Manage Internal Documentation?
| 1. | Login to your account using the username and password provided. | |
| 2. | Hover over the Fleet Management tab. |  |
| 3. | Click on Document management Centre in the drop-down. |  |
| 4. | Select Manage Internal documentation. |  |
| 5. | Select Client. |  |
| 6. | For creating a new row, Right click on the row where you want to add new rows above or below. | 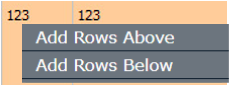 |
| 7. | We can Add Multiple Rows by inserting the number of rows here and Entering for a set number of rows you want. |  |
| 8. | Fill in the Information that you want. | 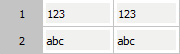 |
| 9. | Click on SAVE Button to add new rows. |  |
| 10. | It will show a popup. Click on the OK button. | 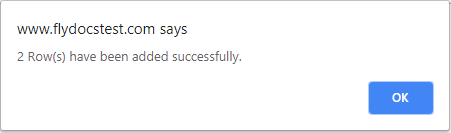 |
How do I edit a row in Manage Internal Documentation?
| 1. | Login to your account using the username and password provided. | |
| 2. | Hover over the Fleet Management tab. | |
| 3. | Click on Document management Centre in the drop-down. | |
| 4. | Select Manage Internal documentation. |  |
| 5. | Filter and Click VIEW button. | |
| 6. | Click on the view image of the row to view inner documents. |  |
| 7. | Right-click on a row which you wish to Edit and select the option Edit Row | 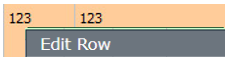 |
| 8. | We can Edit that row with an inline option. | 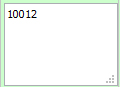 |
| 9. | Click on save the image at the right-side end of a row to save the update that you make. |  |
| 10. | It will show a popup. Click on the OK button. | 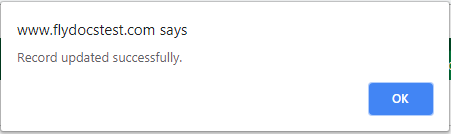 |
How do I delete a cell in Manage Internal Documentation?
| 1. | Login to your account using the username and password provided. | |
| 2. | Hover over the Fleet Management tab. | |
| 3. | Click on Document management Centre in the drop-down. | |
| 4. | Select Manage Internal documentation. |  |
| 5. | Select Client. | |
| 6. | Right-click on the cell which you wish to Delete and select the option Delete Cell. | 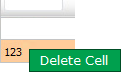 |
| 7. | It will show you a confirmation popup window. Click on the OK button. |  |
| 8. | It will show you a popup message. Click on the OK button. |  |
How do I delete a row in Manage Internal Documentation?
| 1. | Login to your account using the username and password provided. | |
| 2. | Hover over the Fleet Management tab. | |
| 3. | Click on Document management Centre in the drop-down. | |
| 4. | Select Manage Internal documentation. |  |
| 5. | Select Client. | |
| 6. | Right-click on a row which you wish to Delete and select the option Delete Row. | 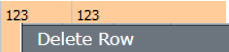 |
| 7. | It will show a confirmation popup message. Click on the OK button. |  |
| 8. | It will show a popup message. Click on the OK button. |  |
| 9. | Then selected row which you have deleted will be marked by a line. | 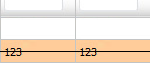 |
How do I show/hide deleted rows in Manage Internal Documentation?
| 1. | Login to your account using the username and password provided. | |
| 2. | Hover over the Fleet Management tab. | |
| 3. | Click on Document management Centre in the drop-down. | |
| 4. | Select Manage Internal documentation. |  |
| 5. | Select Client. | |
| 6. | After selecting related information VIEW button is going to be visible so just click on it for View Manage Internal Documentation. |  |
| 7. | Go to the right side of the page at the top of the grid there is one dropdown named Show Rows. Just select the option that you want. | 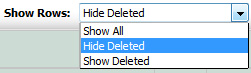 |
Lauren Partridge
Comments