|
Table of Contents : |
How do I move documents in a deleted Hyperlinked row?
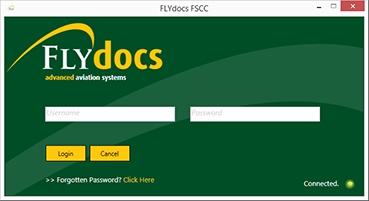
| 1. | Login to your account using the username and password provided. Note: These login details will be the same as the FLYdocs web platform. |
 |
| 2. | Select a Client from the Client dropdown and then select 'OK'. | 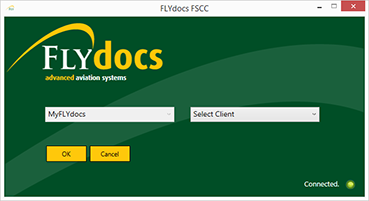 |
| 3. | Select the tab Scan at Source at the top of the application. |  |
| 4. | Select the sub tab for 'Template Scanning'. |  |
| 5. | Select a particular centre. |  |
| 6. | Select a component type and component from the combo boxes provided. Note: Selection of both fields are mandatory. |
 |
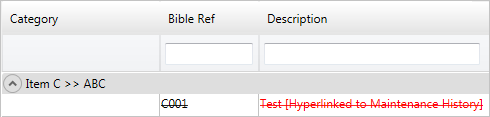
| 7. | The page will then update listing the Records Library for component selected. Note: Deleted Hyperlinked rows are highlighted using a red font color and strike line on it. |
 |
| 8. | Select the 'View' icon at the right side of the component row to enter the Box/ Folder level window for the selected component. |  |
| 9. | Once new window will open, Double click on the Folder Name. It will open that folder in a new window. | |
| 10. | Select the document you want to move to another location. |  |
| 11. | Click on the Manage Document dropdown and Select Move Documents option. |  |
| 12. | Go to panel shown at the Right side and Select Centre and Other relevant details where you want to move document. |  |
| 13. | Select record where you want to move document. | 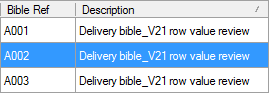 |
| 14. | After filling out all the fields Click on the 'MOVE' button. |  |
| 15. | It will show you Popup window. Click on the OK button. |  |
| 16. | It will show you Popup window. Click on the OK button. |  |
| Note:- If you do not see this option appear it is due to access restrictions for your user account. please contact an administrator. |
Lauren Partridge
Comments